It comes to charging refrigerant in HVAC systems, there are various techniques that be utilized for accurate results. Each method has its advantages and is suitable for different scenarios. In this article, we will explore six charging techniques and their applications.
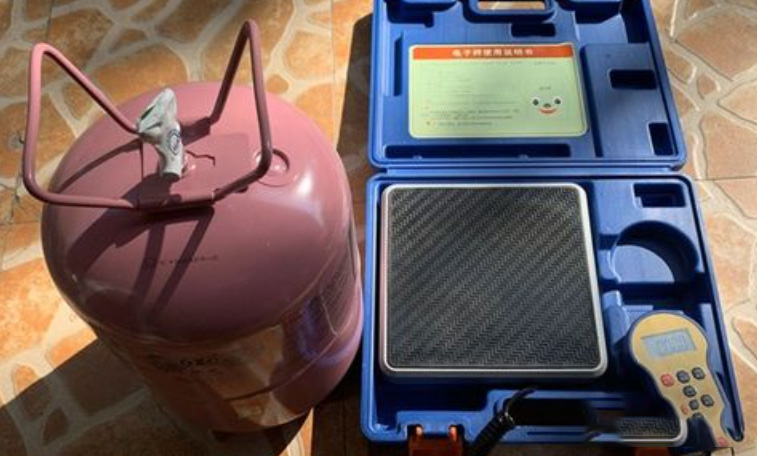
The weighing method is the most accurate approach, involving the direct addition of the required amount of refrigerant into the system. This technique is particularly suitable when the charging requirements are known, and a full charge is needed. It is commonly used for self-contained units. In the case of smaller charging amounts during system repairs, it is customary to release the refrigerant, perform the necessary repairs, and then add the required quantity.

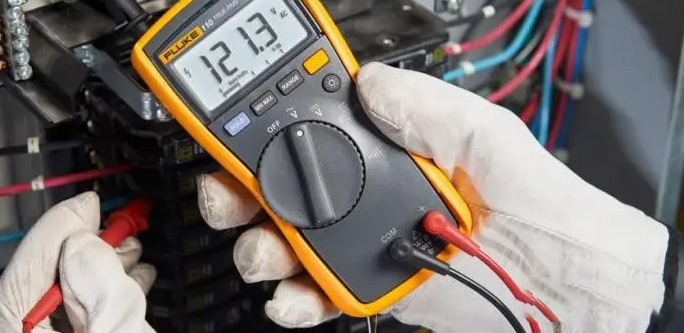
Using the rated current, the current method requires the installation of a clamp ammeter at the input of the air conditioning power supply. To charge the system, connect the refrigerant cylinder to the low-pressure side liquid service port of the air conditioner, remove air from the lines, start the compressor, open the refrigerant cylinder valve, and add refrigerant. Observing the position of the ammeter until it reaches the rated current allows for accurate charging, and the process can be stopped thereafter.

3. Pressure Method:
The pressure method relies on the relationship between the refrigerant's saturated evaporating temperature and its pressure. By knowing the evaporating temperature, you can determine the corresponding evaporating pressure. This pressure can be converted to gauge pressure, and pressure gauges can be installed in both the high and low-pressure circuits to assess the refrigerant charge. Connect the charging hose, start the compressor, and carefully add refrigerant while monitoring the pressure gauge indications.
The relationship between R410A saturation pressure and temperature (temperature: ℃, pressure: Kgf/m3) | |||||||||
Temp. | PRESS | Temp. | PRESS | Temp. | PRESS | Temp. | PRESS | Temp. | PRESS |
-9 | 5.95 | 4 | 9.04 | 17 | 13.21 | 30 | 18.69 | 43 | 25.76 |
-8 | 6.16 | 5 | 9.32 | 18 | 13.58 | 31 | 19.18 | 44 | 26.38 |
-7 | 6.37 | 6 | 9.60 | 19 | 13.96 | 32 | 19.67 | 45 | 27.01 |
-6 | 6.58 | 7 | 9.89 | 20 | 14.35 | 33 | 20.17 | 46 | 27.65 |
-5 | 6.80 | 8 | 10.19 | 21 | 14.74 | 34 | 20.69 | 47 | 28.30 |
-4 | 7.03 | 9 | 10.50 | 22 | 15.15 | 35 | 21.21 | 48 | 28.97 |
-3 | 7.26 | 10 | 10.81 | 23 | 15.56 | 36 | 21.74 | 49 | 29.64 |
-2 | 7.49 | 11 | 11.13 | 24 | 15.98 | 37 | 22.29. | 50 | 30.33 |
-1 | 7.74 | 12 | 11.46 | 25 | 16.41 | 38 | 22.84 | ||
0 | 7.98 | 13 | 11.79 | 26 | 16.85 | 39 | 23.40 | ||
1 | 8.24 | 14 | 12.14 | 27 | 17.30 | 40 | 23.98 | ||
2 | 8.50 | 15 | 12.49 | 28 | 17.75 | 41 | 24.56 | ||
3 | 8.77 | 16 | 12.84 | 29 | 18.22 | 42 | 25.16 | ||
4. Sight Glass Method:
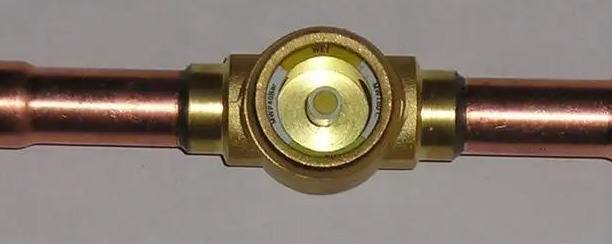
The sight glass method is a common practice for assessing refrigerant charge. By observing the sight glass in the liquid line, you can determine if the charge is appropriate. A clear flow of liquid refrigerant indicates a properly charged system. The presence of bubbles or flashing suggests an inadequate charge. It's important to note that even when the system is correctly charged, bubbles or flashing can be observed due to pressure drops caused by resistance in the liquid line or rapid changes in condenser pressure. For instance, when a sudden change in fan speed occurs, the condensing temperature can fluctuate, leading to temporary observations of bubbles or flashing.
5. Level Indicator Method:
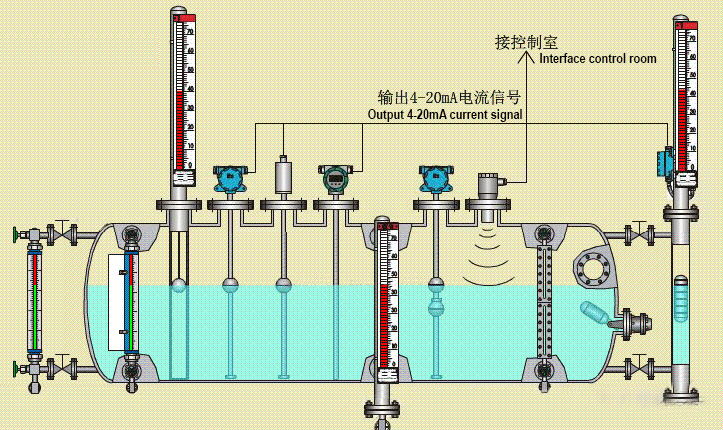
Certain systems are equipped with level indicator test ports in the receiver. By slightly opening the test port, you can assess the charge level. If liquid refrigerant comes out, it indicates a sufficient charge. However, if only refrigerant vapor is observed, it implies an insufficient charge. Larger receivers may include float indicators similar to fuel indicators in cars, displaying the liquid level in the system.

The subcooling method is applicable for small unit systems with capillary tubes. To determine the charge, measure the suction pressure and the difference between the suction line temperature (around 0.15m from the compressor) and the temperature on the evaporator coil. Under normal operating conditions, continue adding refrigerant until the subcooling difference measured using this method ranges from approximately 20°C to 30°C. If the subcooling difference approaches 40°C, it indicates an undercharge situation.
By understanding and employing these diverse refrigerant charging techniques, HVAC professionals can ensure accurate and optimum charging of systems. The choice of method depends on the system's characteristics, charging requirements, and the desired level of precision. Remember, precise refrigerant charging plays a vital role in maintaining the efficiency and performance of HVAC systems.
评论
发表评论